What is iTop Data Recovery?
iTop Data Recovery is an exquisite no-nonsense solution to recover lost or deleted files from Windows Recycle Bin, External Disk, Hard Drive, Memory Card, SSD, USB Drive, Digital Camera, and more. You can then use it for retrieving documents, system files, photos, videos, and more. iTop Data Recovery makes the entire recovery process so simple that all you’ll need to do is a few clicks. You should select the file locations and file types before clicking the SCAN button. After that, the recoverable data information will come up. You can then choose special file types and locations or select all the data types and locations before the scan. After a thorough scan, this data recovery program will display not just the basic information such as file name, sizes, and original location but also an evaluation of the recoverability of every file and a preview of the data before recovery. After that, select the data that you want and then click the Recover button.
A huge benefit of using an offline data recovery tool such as iTop Data Recovery is that everything will happen on the local machine. You won’t have to worry about confidential information or private data being uploaded to cloud storage locations. You’ll be in total control over data during the entire recovering process. Even if you have an alternative, cloud-based data recovery option, you should look to prioritize the need for privacy and data recovery. To sum things up, the iTop Data Recovery program is your ideal choice to recover emptied Recycle Bin, retrieve lost data from viruses or malware, and recover data from drive formatting, system crashes, or other errant operations that result in data loss.
How to download and install iTop Data Recovery program on your PC?
Since it’s a data recovery tool that has to scan the PC to do its job, it should come as no surprise that it’ll come as an installed application and not a cloud service. Downloading the installer will be as easy as it gets. You can open the official website of the iTop Data Recovery program and click the Download Now button and the file will automatically start downloading. You won’t require any sign-up or have to fill out any forms.
You can also manually download the files by visiting the following links –
Download iTop Data Recovery Download Data Recovery Software
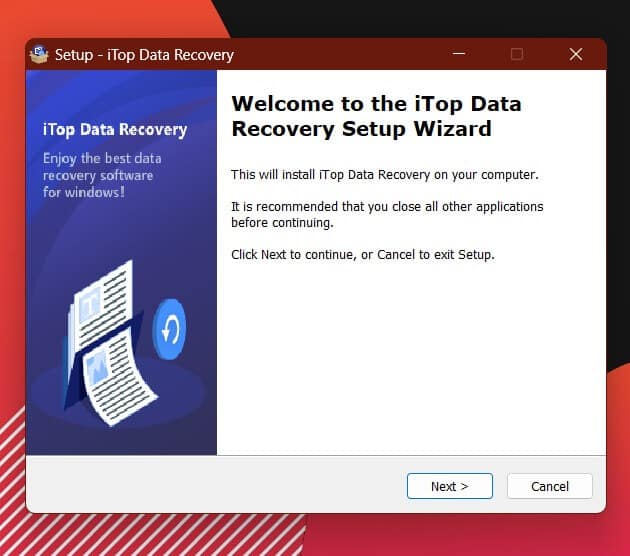
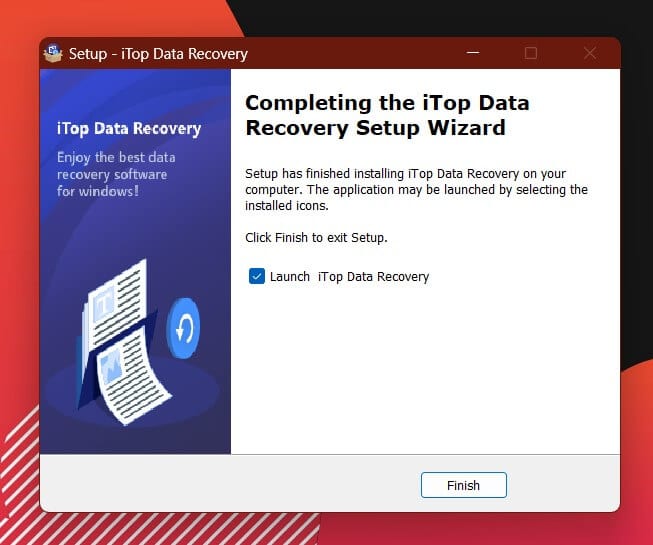
After that, you should start the installation process. It’s a rather straightforward setup wizard. Accept the License Agreement, choose the installation location, and create a desktop icon for easy access.
Once complete, the installer will also give you the option to launch iTop Data Recovery, which means you’ll be able to start restoring files within no time.
How to use the iTop Data Recovery program?
Step 1: If you want to test the capabilities of iTop Data Recovery, you can use it if you’ve accidentally deleted something on your USB, SSD, External Disk, etc. Say that you’ve got multiple files such as a text document, a PDF, an image file, and more. You can use them to check how recovery works for different file types of files. Step 2: The next step would be to “accidentally” delete the files. Select the files and then hit the Delete button before confirming with yes. Once you’ve permanently deleted the files, the files will be supposedly unretrievable. iTop Data Recovery claims that the program can help restore permanently deleted files with a recovery rate of up to 95%. Step 3: It’s important that you should understand that the success of the recovery process will depend on multiple factors, and not all are under the control of recovery tools. The most important factor here is how much write operation has happened on the drive after the files were deleted from it. The more the drive has been used, the higher will be the likelihood that the storage location of the deleted file has been overwritten with fresh data, making the recovery impossible. Ensure that you stop using the drive as soon as you’ve accidentally deleted any file from it and try to start the recovery process as soon as possible. This is how you’ll be able to maximize the chances of successful data recovery. Step 4: Now comes the time to see how to recover the test files. The user interface on the program is clean and intuitive. On the left-hand side, you will have the Scan Locations option. It is especially useful if someone knows the specific folders where your files were deleted from, it’ll be enough to just scan that folder instead of scanning the entire hard drive. This will save you a lot of time, which is a great benefit. It’s a possibility to scan SSD, HDD, the external USB stick, or even the Recycle Bin if you know the files might be there. Step 5: On the right-hand side, you can select the File Types that the scan feature should look for. You can choose between Photos, Videos, Documents, Music, Archives, and more. iTop claims that this program is capable of recovering data from over 1,000 file formats. When you’re testing the recovery of different file types, you can leave all file types selected. Step 6: Once you’ve selected the file types, it’ll be time to hit the Scan button. Step 7: There will be a progress bar that shows the states of the scan. In most cases, the entire scan will only take a matter of seconds. However, remember that on larger drives that have a lot of files, the process could take a lot longer. Step 8: Once the scan gets completed, a new window will appear with the entire list of the deleted files that were found. iTop Data Recovery will be able to find all the test files while identifying their file formats. As long as you’ve done everything correctly, you’ll see the estimated Recoverability to be “Excellent”. There’s also a neat little preview function here. When you hover around one of the eye icons on the right, you’ll see a pop-up preview of the deleted files. Step 9: Then, you should try to recover the files. You should select the deleted files for recovery and then press the Recover Button located in the bottom right. A new window will open up where you should choose the folder to restore the files to. When you’re recovering to the same place, you will get a warning stating that recovering to the original drive could overwrite the original data and reduce the chances of a successful recovery. For that reason, it’s always a great practice to recover files to a different drive. Step 10: The iTop Data Recovery program will manage to restore all the files successfully. You’ll now be able to open them, make changes, and then save the files again without any issues. The only thing that you might have to fix would be the file names as they don’t always get recovered with 100% accuracy.
Conclusion: The Final Verdict
The iTop Data Recovery program is an extremely capable and easy-to-use recovery solution that does the data recovery job pretty well. It’ll be a pleasant surprise to use a tool that isn’t overly complicated and doesn’t have any additional bloat trying to force useless features on the user. This program is capable of recovering files of 1,000+ file formats and the entire data recovery process will be quick and painless. Ultimately, it is a program that you should definitely give a shot if you have accidentally deleted important files.